Important
For support, please reach out to your account team or contact support@sourcegraph.com
Welcome to the Sourcegraph documentation! We're excited to have you contribute to our docs. Our docs tech stack is powered by Next.js, TailwindCSS and deployed on Vercel. This guide will walk you through the process of contributing to our documentation.
Clone this repository to your local machine using the following command:
git clone https://github.com/sourcegraph/docs.git docsNavigate to the project directory by typing the following command in your terminal:
cd docsBefore the dependencies are installed make sure your local machine has the
following versions of node and pnpm installed:
- node:
v24.21.0 - pnpm:
10.25.0
Note: If you have mise available you can install the above versions for
only this repository by running the following command from your terminal in the
root folder:
mise installNow that the base requirements of the project have been satisfied, we can install the required dependencies to run the development server!
pnpm installSpell checking is not part of the project dependencies. To run it locally:
npx cspell@10 --no-progress --dot '**/*'
Next, run the development server:
pnpm run devFinally, open http://localhost:3000 in your browser
to view the website.
You can easily update existing docs pages using GitHub's file editor. All you need to do is:
- Find the corresponding
.mdxfile in the folder structure. - Click the pencil icon to open the file editor.
- Make your changes.
- Click on the green "Commit changes..." button.
- Provide a Commit message and an Extended description.
- Click on the green "Propose changes" button to create a PR.
- Add a PR reviewer to the Reviewers panel by clicking on the gear icon.
- Post a link to your PR in the
#docsSlack channel to get a quick review.NOTE: "Edit from GitHub" is generally recommended for text-based edits. For more structural-based contributions like adding React components and code blocks, it's always better to go with a local setup. This way, you can preview changes before you commit.
To add new or update existing docs content. Create a new branch and checkout by via:
git switch -c BRANCH_NAME_HEREThe folder structure is exactly the same here. All the docs reside within the
/docs folder. Here you'll find separate folders for every docs section like
cody, code-search, cli, etc.
- Navigate to the relevant section for your contribution
- If you're adding a new page, create a new MDX file (e.g.,
my-new-page.mdx) in the appropriate folder
Each MDX file can include frontmatter at the top of the file to configure page metadata. Here are the supported fields:
| Field | Type | Required | Description |
|---|---|---|---|
title |
string | No | The page title |
date |
date | No | Last modified date (used in sitemap) |
seoPriority |
number | No | Sitemap priority 0.0–1.0, default 0.5 |
preview |
bool | No | Hidden; 404 without ?preview query |
Example:
---
title: Getting Started with Cody
date: 2024-01-15
seoPriority: 0.8
---We use MDX for our documentation, which allows you to seamlessly integrate JSX (React components) within Markdown. Write your content using standard markdown syntax. For example,
# This is heading 1

This is an introductory paragraph.

## This is heading 2

### This is heading 3

These are the details for heading three.

This is how you add a [demo-link](https://sourcegraph.com/)

- This is a bullet 1
- This is bullet 2
- This is bullet 3The only difference with this new stack is its ability to use React components.
We have a set of reusable React components located in the src/components
directory. These components are designed to enhance the user experience and
maintain consistency across our documentation.
For example, <Callout> adds a note, info, tip, or warning notice:
<Callout type="note">This feature is currently in Beta for all users.</Callout>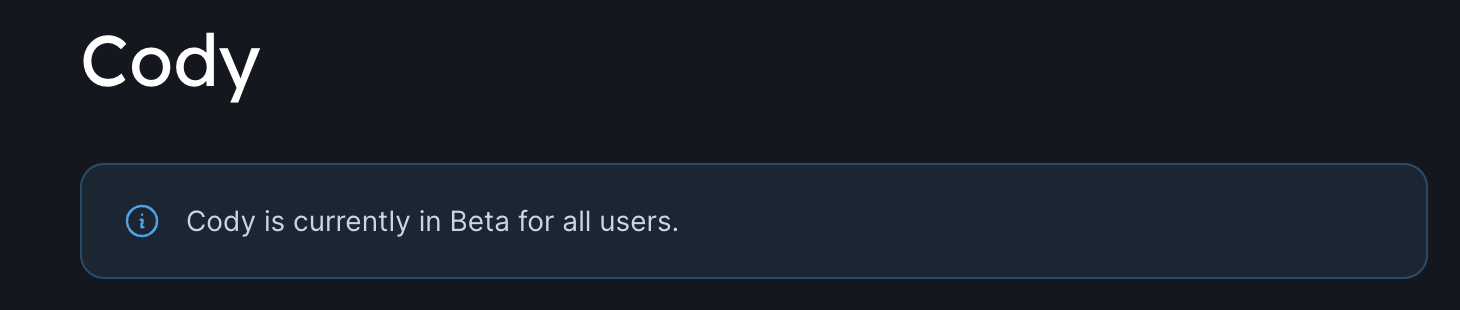
The components available in MDX are registered in
src/components/MdxComponents.tsx:
| Component | Use |
|---|---|
<Callout> |
type: note, info, tip, or warning |
<TierCallout> |
Which plan or tier a feature needs |
<QuickLinks> |
Card grid; <QuickLink> takes title, |
description, href, icon |
|
<LinkCards> |
Card grid with images; <LinkCard> adds |
imgSrc and imgAlt |
|
<ProductCards> |
<ProductCard> grid, same props as LinkCard |
<Tabs> |
Tabbed content; <Tab title="..."> |
<Accordion title="..."> |
Collapsible section |
<Badge> |
Inline label |
<SupportedReleasesTable> |
Release tables on /releases, also |
<DeprecatedReleasesTable> |
|
<ResourceEstimator> |
Page-specific widgets, also <FeatureParity> |
and <AWSOneClickLaunchForm> |
For example:
<QuickLinks>
  <QuickLink
    title="Terraform on AWS"
    icon="installation"
    href="/self-hosted/executors/deploy-executors-terraform-aws"
    description="Deploy executors on AWS with Terraform."
  />
</QuickLinks>To add a link to any docs page, use the following routing syntax:
[Link text](path-to-link).
- Do not include
/docsin the link paths. The base URL will besourcegraph.com/docs - There should be no file extension in the path name
For example, if you want to link to the Cody Quickstart somewhere in the Code Search docs, you should use:
- Link to the [Cody Quickstart](/cody/quickstart)
- Hash-link to a heading:
[Verify the install](/cody/clients/install-vscode#verifying-the-installation)You can upload images, videos and gifs to Sourcegraph docs. For a more detailed instructions visit this page.
Note: Make sure to use ImageOptim.app to reduce the size of the images before uploading, since large images degrade page loading speed.
As you make changes to the documentation, the development server will
automatically update. Review your changes by navigating to
http://localhost:3000 in your browser.
When you open a PR Vercel deploys and provides you with a preview deployment link. To view your deployment, click the Visit Preview link from Vercel's deployment panel in your PRs and you get a preview of your docs

Once you're satisfied with your changes, follow these steps:
- Commit your changes
- Create a pull request to the Sourcegraph documentation repository, and tag the appropriate reviewers.
GitHub Actions comment on your PR with anything it introduces:
- Broken links: internal links and
#anchorsthat no longer resolve, absolute links to this site, and external links that 404. This check fails the PR. Locally:pnpm run check links --check-anchors --check-self-links. - Broken redirects: entries in
src/data/redirects.tswhose destination no longer exists. Locally:node dev/check-redirects.mjs. - Spelling: CSpell on the lines you added, plus the PR title and
description. Advisory only. Add product names and identifiers to
cspell-allow-list.txt, in alphabetical order. - Preview links: direct links to the pages you changed on the Vercel preview deployment, once it finishes.
Thank you for contributing to Sourcegraph documentation! Your efforts help us provide top-notch learning experiences for our users. If you have any questions or need assistance, feel free to reach out.